Lesson Four
- 18 Jun 2024
- 9 Minutes to read
- Contributors

- Print
- DarkLight
Lesson Four
- Updated on 18 Jun 2024
- 9 Minutes to read
- Contributors
- Print
- DarkLight
Article summary
Did you find this summary helpful?
Thank you for your feedback
After following along with these tasks, please complete the accompanying lesson questions on Get To Know Lesson 4 form in your system.
In this lesson we will be adding an essential contractor to the Bites & Vines Festival, 'The Tent Peg Toppers'. Their job is to go around the event and ensure any marquee on site with exposed marquee tent pegs, have the tops covered and taped with soft foam.
They will have some staff with them so we will give them their accreditation and collect the staff names. We will look at the default Festival Pro contractor advance and edit it to suit our needs and get The Tent Peg Toppers to return names to get entry tickets and their health and safety documentation for our records. We will then schedule them some pegs to top and let them know their schedule, before finally creating an export of some useful information and bookmarking it for future use.
1. Add Contractor:
Contractors are essential for various services, such as stage setup, security, waste management, or technical support. In Festival Pro a Contractor is defined as a company who have crew. There is also the option to add 'Crew' who are more individual people, helping on site but not working for any specific company.
- We will begin by adding a contractor to the system, we want to create a company called 'The Tent Peg Toppers'. Goto the Contractors & Crew menu and in the dropdown select Add Contractor

- Use Company name 'The Tent Peg Toppers' and add in a first name, last name and email address for a lead contact. I created 'Richard Hammer, rich@hammer.com, but feel free to get creative with this contact.
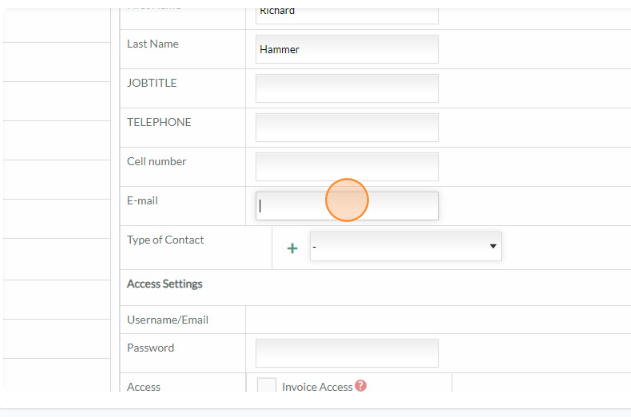
- In the bottom section we can begin to add profile fields to this contact, we could add their accreditation here. But let's leave that for the next step. Instead just mark The Tent Peg Toppers as a Confirmed Contractor and their Contractor Fee to 1500, then hit save. We will use the Fee in an export later.


2. Give Accreditation:
After adding the contractor, we need provide them with the necessary accreditation or access credentials to fulfil their designated responsibilities during the festival. Accreditation ensures they have authorized access to site and are given the correct wristbands/passes upon entry. We will need to give our contractors an allocation of passes to assign to their crew.
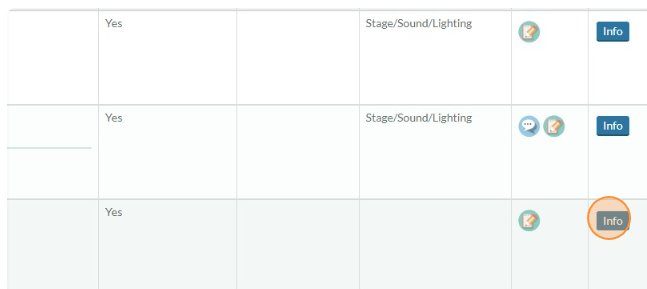
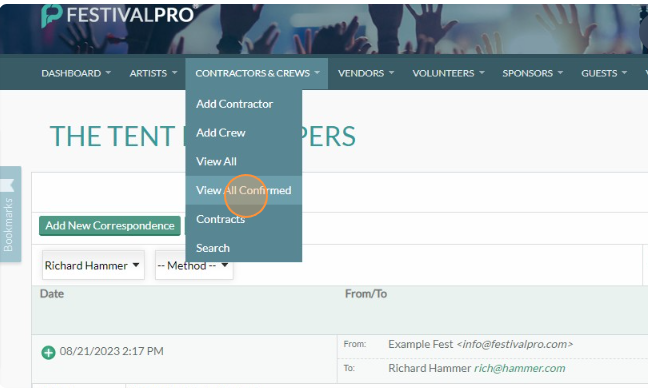
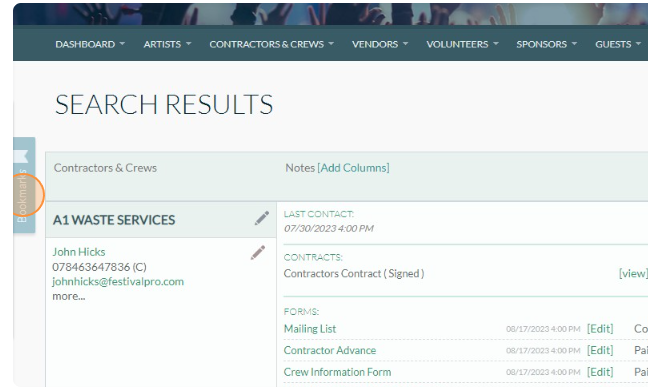
- Firstly let's locate our contractor, we confirmed them in the adding process, so we should be able to locate them under 'View All Confirmed' contractors.

- Click the Info Button at the end of The Tent Peg Toppers profile listing to access the pop up window.
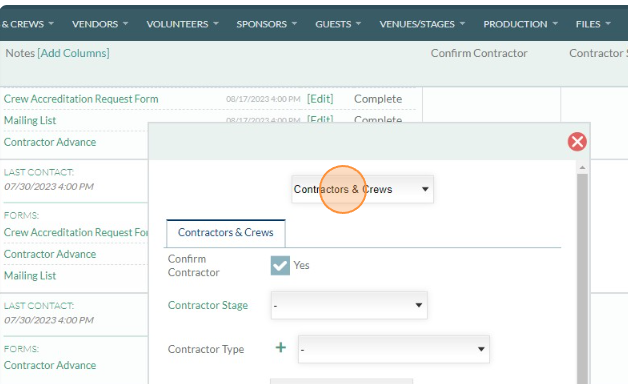
- Click on the dropdown menu and change to the accreditation tab
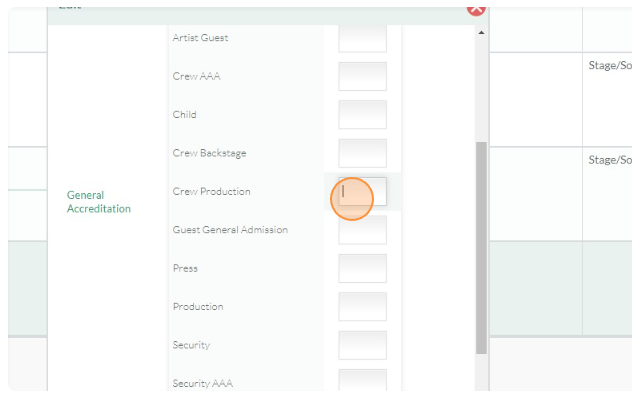
- Let's give them 5 Crew Production passes and then save at the bottom to allocate them to The Tent Peg Toppers.


3. Edit the contractors advance
Every festival is different in their needs, some might put out a contractor request form first to ask how many passes they need for their crew. For this example we will assume we know they have 5 crew members. It is possible to allow contractors to handle their meals independently, assigning their staffing meals on the advance. The Bites and Vines festival are not providing crew food and do not require a profile photo for each crew member, so we will adjust this form to remove these default fields.
But first let's take a look at viewing the default advance as our contractor first to see how grouping a field with others allows another set of data to be added to the group lead.
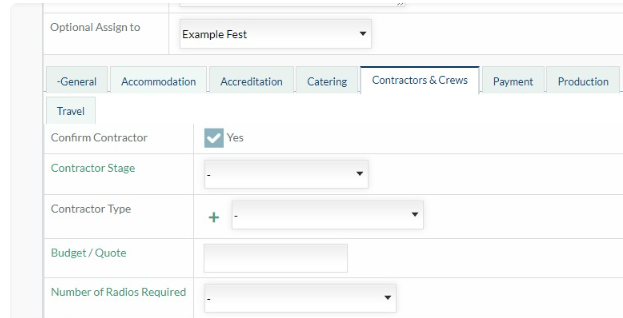
- Revisit the earlier steps to bring up The Tent Peg Toppers in your confirmed contractors list. Then hover over the lower pencil icon and click on 'Fill in form on their behalf' and then select the Contractor Advance.

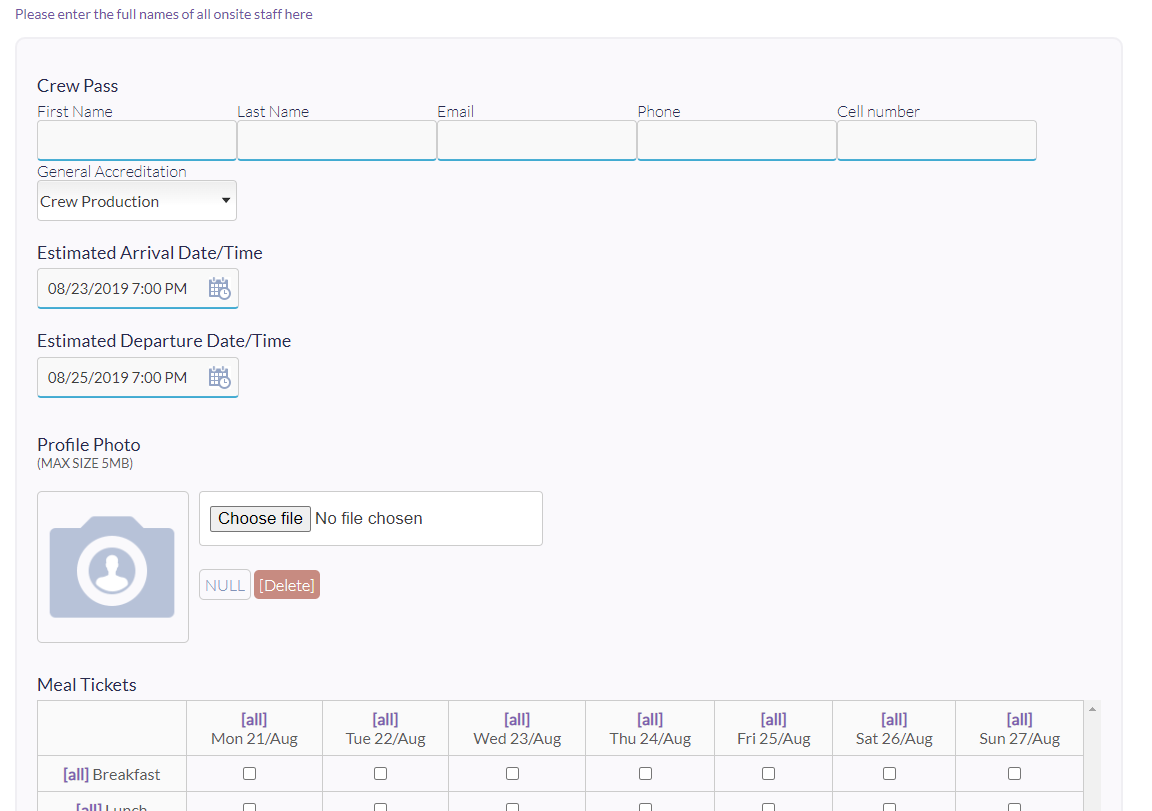
- You will notice in the area where you input your crew names, it is limited to 5 with an Add Another option at the bottom of the section. This section is a group allowing for a whole section of data to be collated and stored against the contacts we are adding to the company. Grouping can also be used in other scenarios where a batch of information is required multiple times, for example travel and in/outbound journeys. The grouping on this contractor advance is allowing us to add a profile photograph and meal tokens per contact.
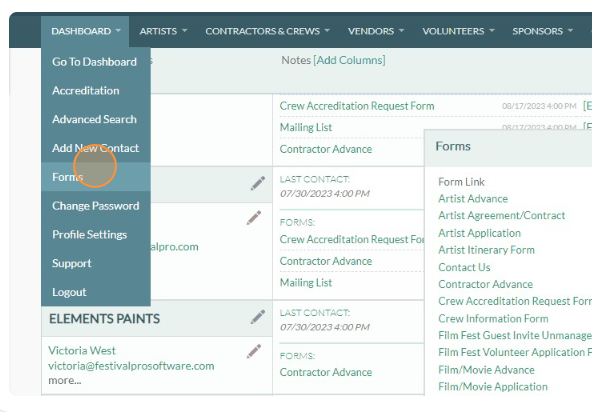
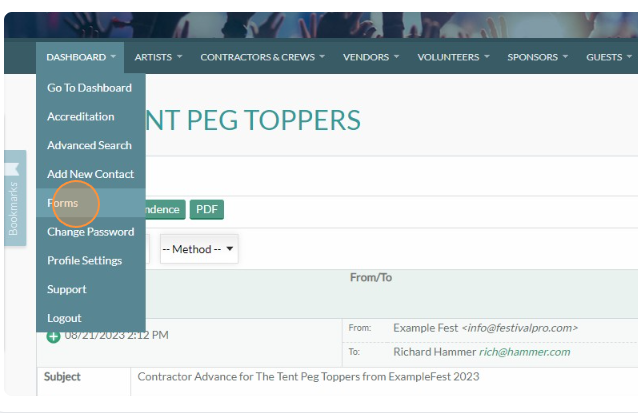
- This is not something Bites and Vines require, so let's remove it from the form. We will need to navigate to the form settings via Dashboard>Forms then clicking Settings on the Contractor Advance


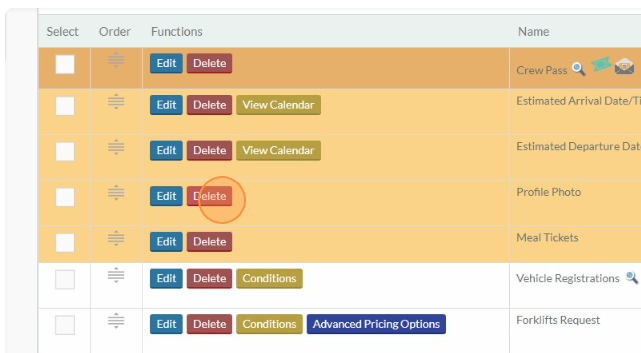
- On the form you will see the group detailed in Orange. You should be able to see here how the add another grouping we saw earlier on the form was working. We don't want to collect a profie photograph or assign meal tickets so let's delete those from the form before we send it.

4. Send the Advance:
Once all the details are confirmed and we are happy with the advance, we will send the advance to the contractors to collect their names, allocate their tickets and collect their health and safety documentation. As we want this information to be stored against the company filling in the form, we will be using autologin links. The form will already be set to Auto Login under the forms access settings, but the key thing to remember is that a form being sent to a contact in the system should be sent via festival pro using an email template. We have an email template already setup for the Contractor Advance by default. Let's just double check it, confirm the link in the email is pointing to the right place and send it to The Tent Peg Toppers.
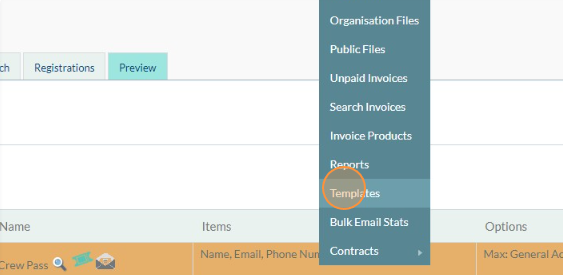
- To view the email templates go to Files > Templates
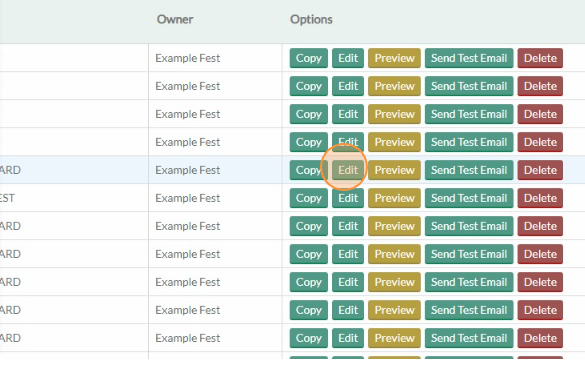
- Find the contractor advance template and then click on the Edit button
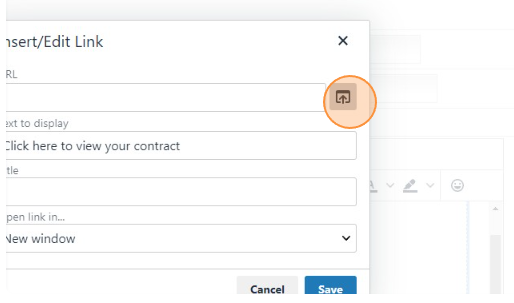
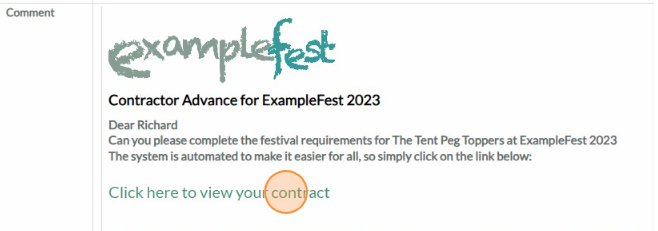
- You will be taken to a preview of the email that we will send to our contractor. It will show all the mail merge fields used, we want to check the link to the form is correct and setup to our contractor advance. Find the link text and highlight it, before clicking on the link icon.


- Click the Up Arrow icon, which will bring up a list of the forms, note public links are on the left and autologin links on the right. You need to locate and select the Contractor Advance (AUTO LOGIN)


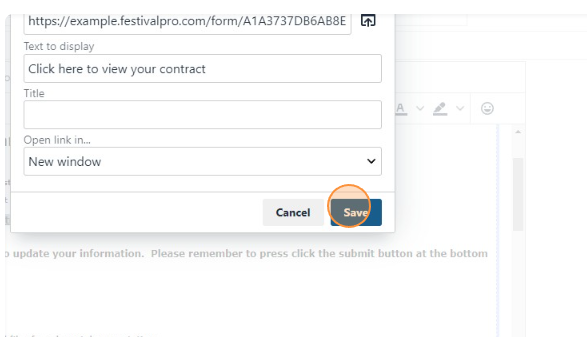
- Then save on the popup and then save and close on the template screen.


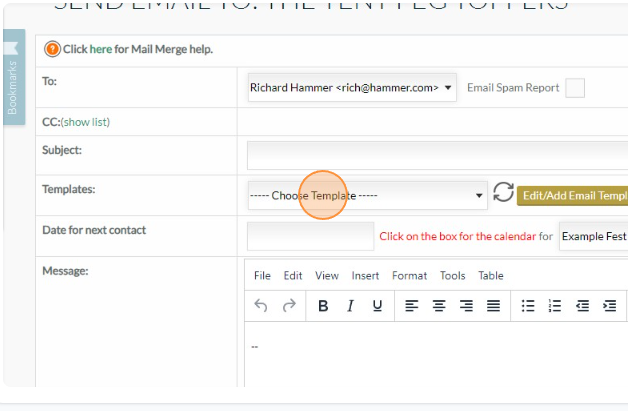
- Let's now send our prepared email template linking to our advance. View all your confirmed contractors and locate our tent peg company. Then click on the email address to bring up the mail menu.
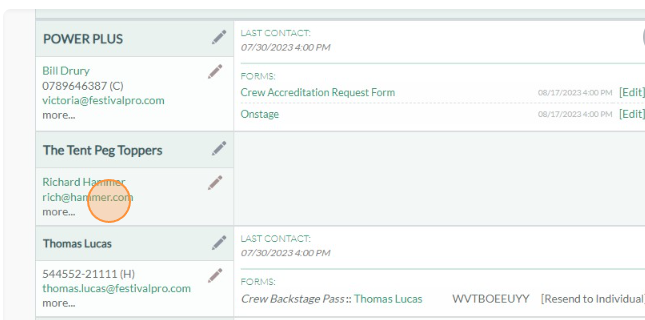
- Click on this dropdown and then select the Contractor Advance and hit send


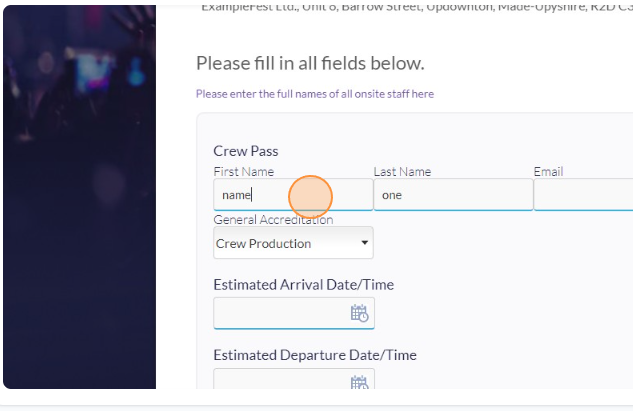
- After sending this email you will be presented with a screen from which you can see the email that was sent to them, if you click the + icon you can then check the link that we just setup and see our form without the photo and meal ticket sections that we removed earlier.

- Enter some details to this form and create between 2-5 crew staff with a minimum of first name and last name in the detail fields. Then sign and submit the form.
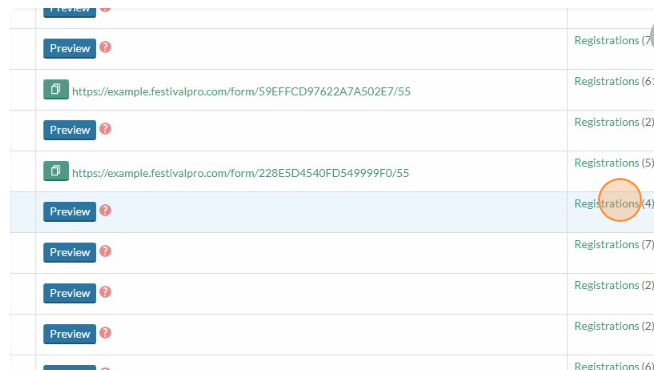
- Now this form has been submitted we can view the returned details in the forms registrations list. Find the Contractor Advance and click into the registrations.


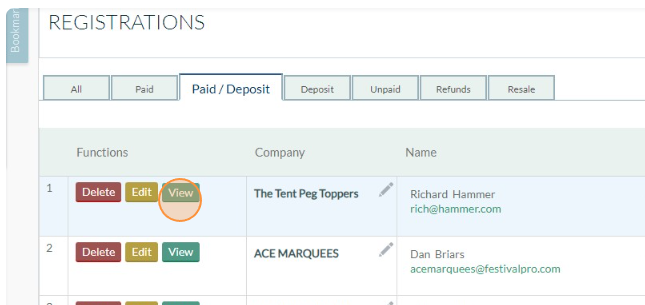
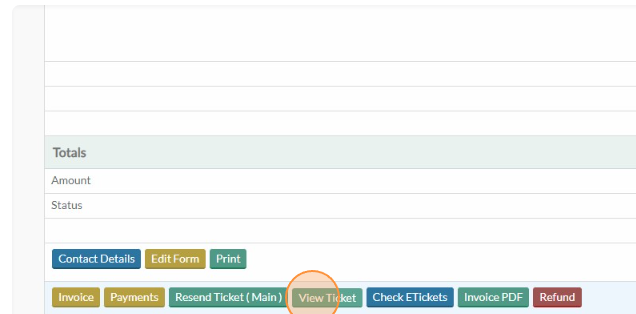
- Click on View for The Tent Peg Topper and you will see the information you submitted on the form, as well as the ticket codes that were generated for the staff names, you could click on View Tickets at the bottom of this form to see the tickets on the screen.


5. Add Task on Production Schedule, Assign Contractor:
Using the production calendar we can create a detailed production schedule for the "Bites & Vines" festival. Include all the tasks and activities that need to be completed before and during the event. Add specific tasks that require contractor involvement, such as stage setup, lighting, sound check, etc. We are going to create a task on the big top on saturday and add The Tent Peg Toppers to it and then see how to send the schedule to them.
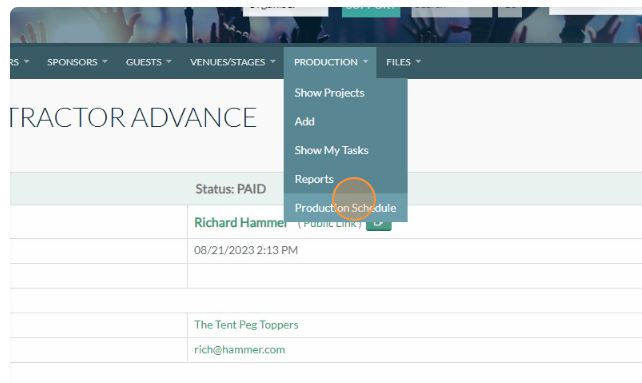
- Firstly open the Production Schedule Calendar by going to Production > Production Schedule
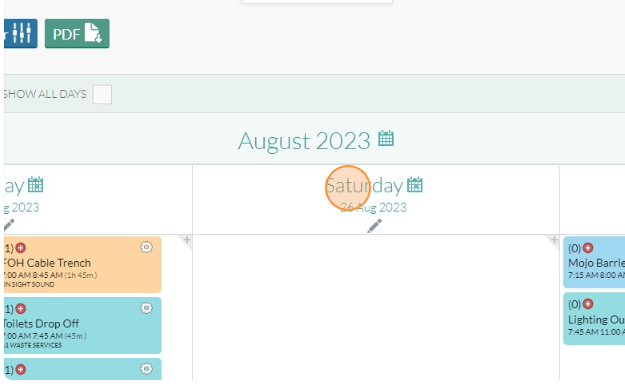
- Click on Saturday to enter the Day View
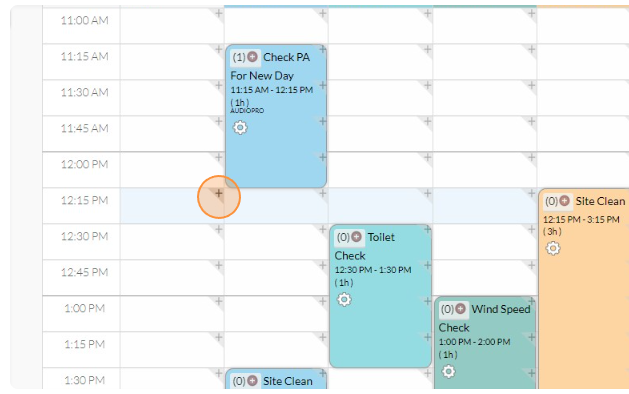
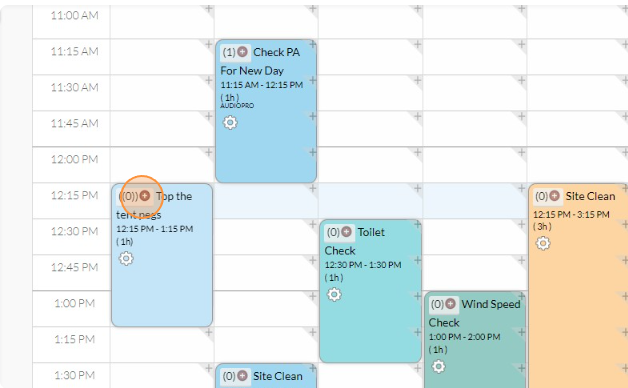
- Click on the + sign at a timepoint on the Big Top Stage column (this presumes you are following on from previous lesson and created this venue, else use any venue in your system)
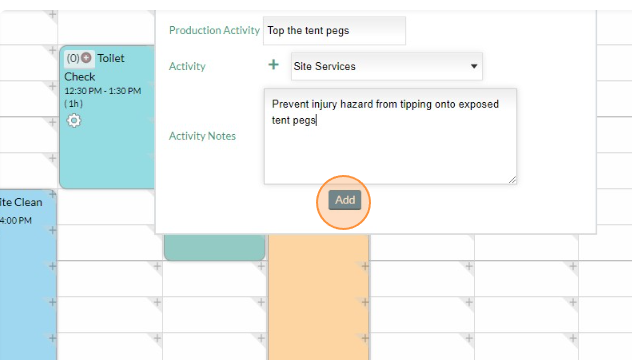
- Enter some information about the task at hand, as in the below image and then hit Add
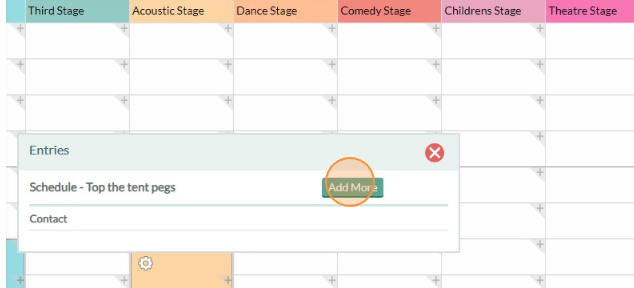
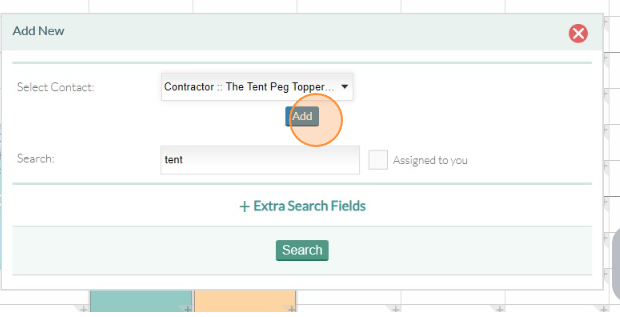
- Next we want to assign the company to the task, click on the + Button, then Add More and search for Tent Peg to attach the Tent Peg Toppers to this task
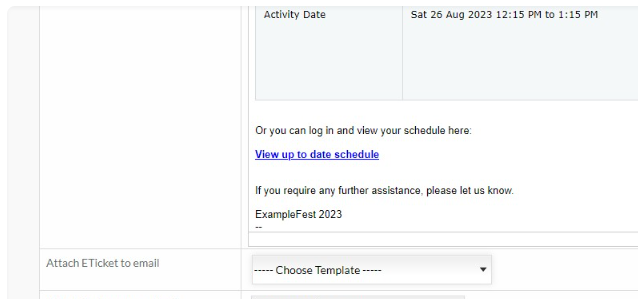
- We can now email the schedule to our contractor in the same way that we sent the contractor advance earlier. Locate the contractor via either a search or your confirmed contractor list. Click on the email address and on the template dropdown, this time choose 'Standard:Schedule'. You will see the task we have created is now in their schedule and can be sent to them directly. The email also contains a link which is always up to date. You can experiment by opening this link, then adding the contractor to a new production schedule task and refreshing the schedule page, it will update with any changes live.


6. Export Contractor Information, Create a Bookmark:
Finally we will just create a bookmark of the confirmed contractor fees and bookmark this for future reference, or to give to someone outside of our festival pro system.
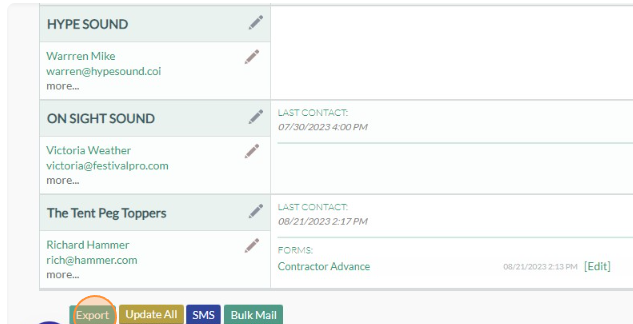
- Go to all of your confirmed contractors
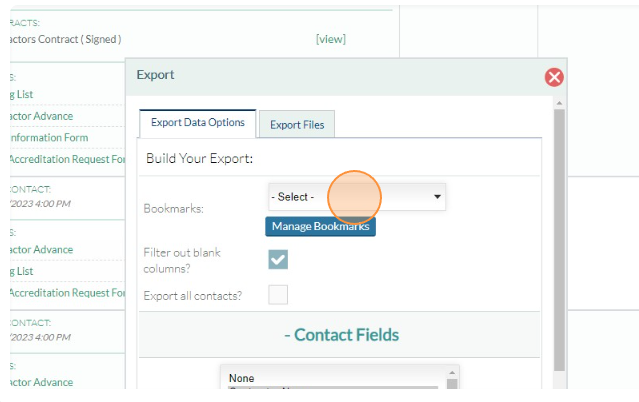
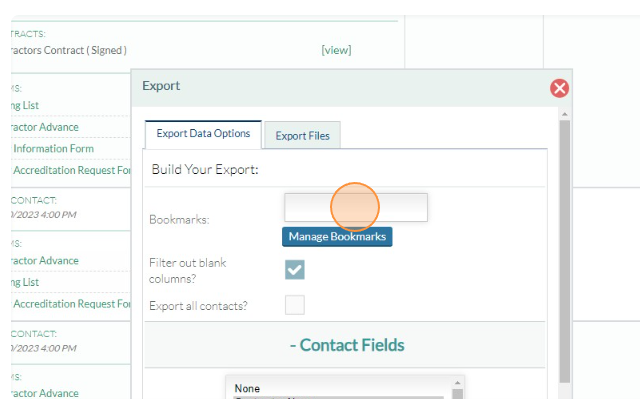
- Click on Export
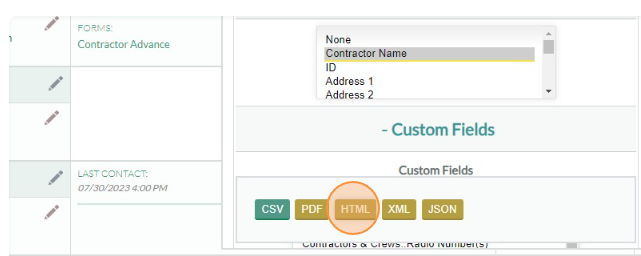
- Under Contact Fields just select the Contractor Name
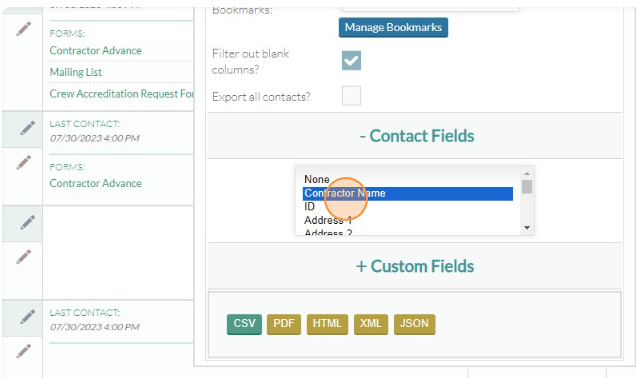
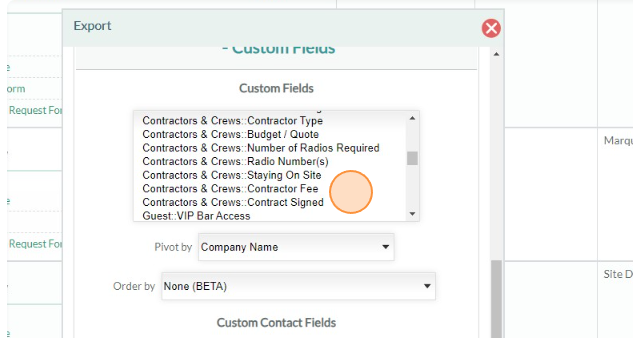
- Click on custom fields to expand that section and you will see a list of all the profile fields in your system. Scroll down to Contractors & Crew section and then select Confirm Contractor and Contractor Fee (Hold Ctrl or Cmd to multiple select whilst clicking)
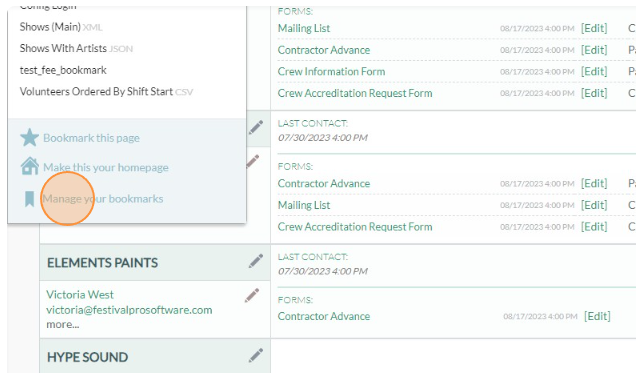
- We will create a bookmark, so we never have to set this up again. Click on the Bookmarks section at the top and enter in a name for this bookmarked export
- Finally choose your export format at the bottom, for this example we will use HTML.
- You now will see our export on the screen. Because we bookmarked this, we can always pull this again, no matter who has been added since by going to the bookmarks tab.

- Also in this section is a manage your bookmarks section, here you can get a unique URL for your export, which you can give to someone external from festival pro, it will always have the latest information. Feel free to navigate to this URL, open it in a browser and then edit the contractor fee and refresh the url to see it change in real time.
 Conclusion:


 Conclusion:
By following this lesson plan, you can efficiently manage contractors and the production schedule for the "Bites & Vines" festival. Providing contractors with proper accreditation and advance documentssecures their participation, while removing unnecessary elements like meals from the advance demonstrates how grouping works in the system. Assigning contractors to specific tasks on the production schedule ensures a well-organized event, and sending the schedule to all stakeholders keeps everyone informed and prepared for their responsibilities during the festival.
LEARN HOW TO BOOK IN YOUR ONBOARDING SESSION / SUBMIT A SUPPORT TICKET